DIY Guide: How to Assemble a Touch Screen Display Like a Pro
Have you ever wanted to build a sleek touch interface for your Raspberry Pi, Arduino, or custom project? While it might seem daunting, assembling a display module is an achievable and rewarding skill. At EastRising, we not only provide high-quality components but also want to empower you to use them successfully.
This guide will walk you through the key steps of assembling a TFT LCD module with a capacitive touch panel (CTP), highlighting the common pitfalls and how to avoid them. Let's get started!
Safety First: The Non-Negotiables
Before we touch any components, your number one priority is preventing Electrostatic Discharge (ESD). A tiny shock you can't even feel can permanently damage the delicate electronics of a display or touch panel.
• Work Surface: Use a clean, non-static surface. An ESD mat is ideal, but a clean wooden table can work.
• Yourself: Wear an anti-static wrist strap connected to a grounded point. At the very least, frequently touch a grounded metal object (like a computer case) to discharge yourself.
• Environment: Work in a clean, low-dust area. Turn off fans or air conditioners that can blow dust around.
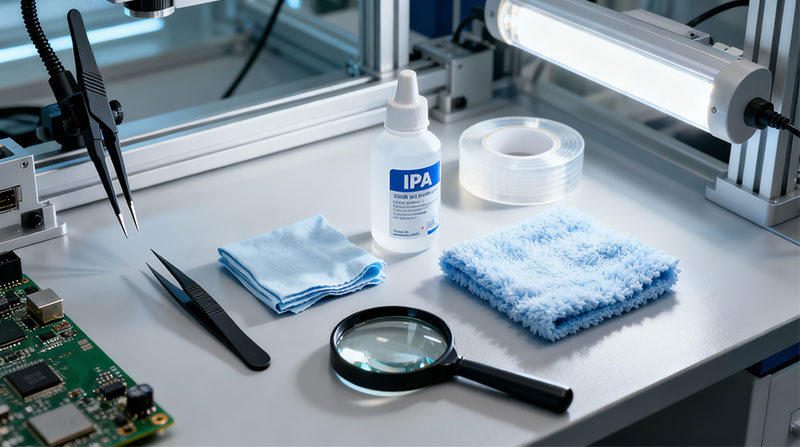
Your DIY Toolkit
You don't need a full factory setup, but the right tools are crucial:
1. Anti-Static Tweezers: For handling small components and peeling films.
2. Lint-Free Wipes & Isopropyl Alcohol (IPA, >99%): For cleaning surfaces.
3. Microfiber Cloth: For gentle wiping.
4. Good Lighting & a Magnifying Glass: You'll be looking for tiny specks of dust!
5. Double-Sided Tape: Specifically designed for display assembly (we offer this.
6. A Steady Hand and Patience!
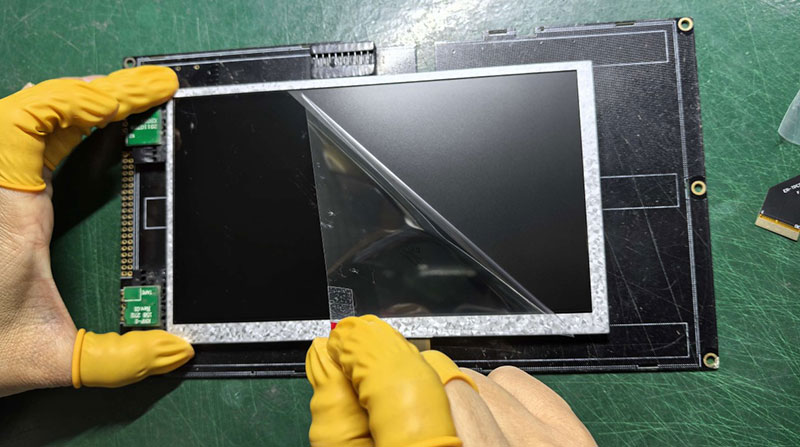
Step 1: The Heart - Prepare Your TFT Display
Your TFT module comes with a protective film. Find the tab and slowly peel it off at a shallow angle. The goal is to avoid any direct contact with the shiny display surface. If you leave fingerprints, they will be trapped forever and create visible blemishes!
Pro Tip: Use tweezers to grip the tab if your fingers are too big.
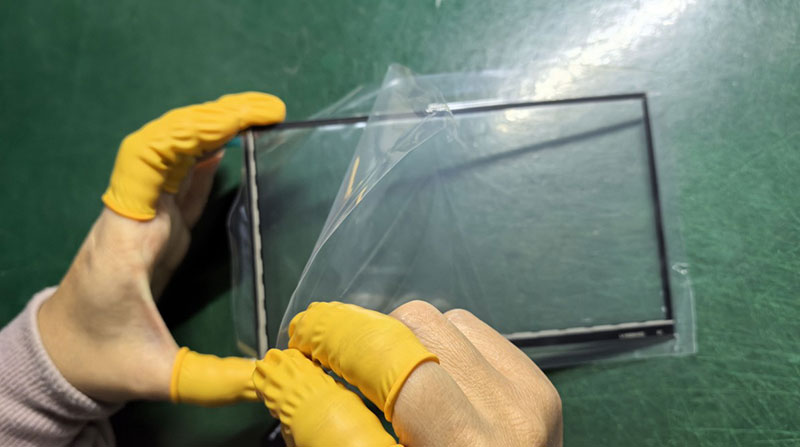
Step 2: The Skin - Prepare Your Capacitive Touch Panel
The touch panel also has a protective film. This surface is even more sensitive to scratches and oils. Repeat the careful peeling process. Before you do, blast both sides with compressed air to remove any loose dust.
Step 3: The Critical Eye - The Dust Inspection
This is the most important step for avoiding bubbles! Hold both the TFT and the CTP at an angle under a bright light. Look for tiny dust particles. You'll be surprised what you see.
If you see dust: Use a can of compressed air first. For stubborn particles, lightly moisten a lint-free wipe with IPA and gently wipe the surface in one direction. Let it dry completely.
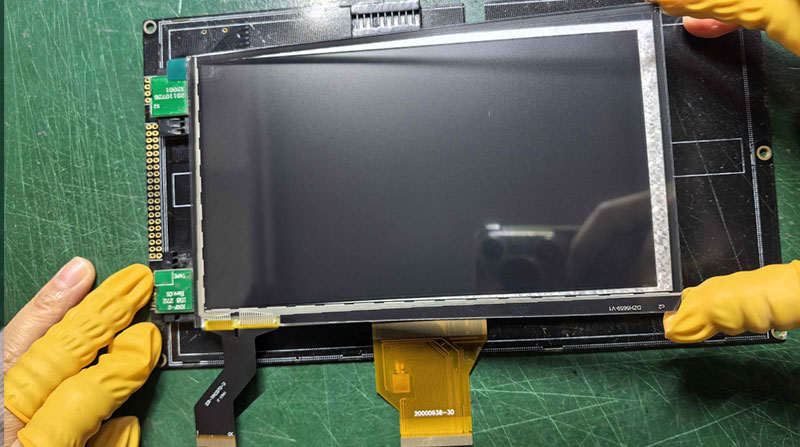
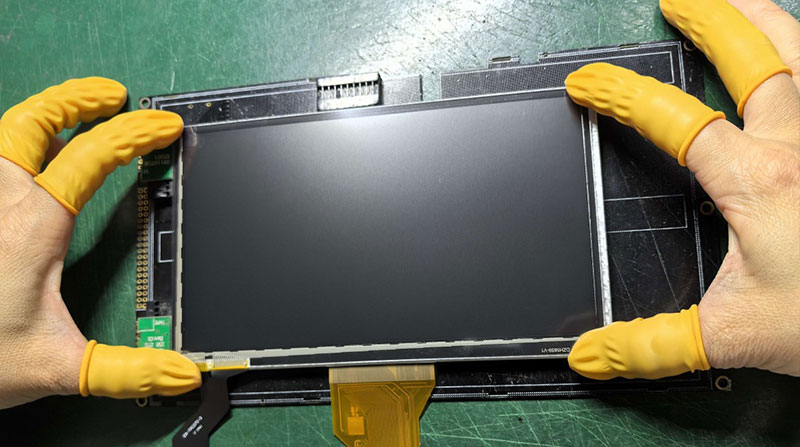
Step 4: Precision Alignment
Now for the satisfying part! Place the TFT module down. Carefully lay the touch panel on top, aligning their edges perfectly. Look through the touch panel to ensure the active display area is centered underneath. Even a small misalignment can cause "dead zones" on the touch edges.
Step5: The Final Bond
Once perfectly aligned, apply the double-sided tape. We recommend frame-style tape that goes around the border of the display, not the center.Typically, the edges of the touch panel come pre-applied with double-sided tape, ready for immediate assembly. No additional tape is required.
1. Apply the tape to the border of the TFT module.
2. Peel off the top liner.
3. Carefully lower the pre-aligned touch panel onto the tape, starting from one edge.
4. Apply firm, even pressure around the entire border to secure the bond.
Congratulations!You've just assembled your own touch display module. Connect it to your controller board and test the touch functionality thoroughly before integrating it into your final project.
At EastRising, we support makers and innovators. If you have questions about choosing the right display components for your DIY project, our technical support team is happy to help.Explore our range of DIY-friendly displays and accessories to get started on your next big idea!
The information below is required for social login
Sign In
Create New Account